
So you want to know how to use a DSLR camera? Good, you are in the right place. This is the first in a series of blog posts that will explore the features and uses of a DSLR camera.
In this post we will explore the basics of exposure, assuming that you are new to your camera and want to understand how to take a good shot.
How Is a DSLR Different from My Compact Camera?
Point-n-shoot cameras are designed for just that – pointing, and shooting. You don’t have to think about much, you just choose a setting based on the surroundings you’re in, point the thing…..and shoot!
DSLR cameras give you much more control over the camera settings and as a result, a much better photography experience.
It’s like stepping out of Volkswagen Beetle into a Ferrari.


How Digital Cameras Work
All digital cameras work using the same three primary things:
- Shutter Speed
- Aperture
- ISO
These three things work together to decide the exposure of your image. This simply means how bright or dark the photo will be.
Shutter Speed
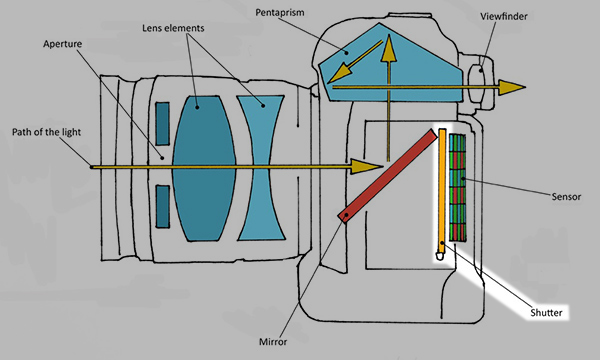
Inside of every camera there is a shutter. It acts like a curtain that opens and closes, exposing the sensor to light.
The shutter speed that you choose determines the amount of time the shutter is open for.
Shutter speed is measured in seconds and fractions of a second.
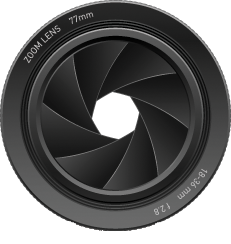
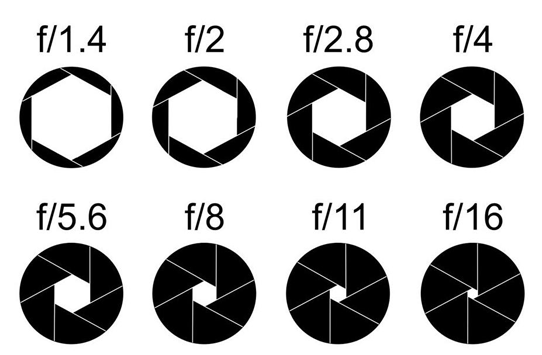
Aperture
Aperture is the adjustable opening in your lens. If the opening is large then more light gets in. If the opening is small, then less light gets in. This affects the exposure of your photo and something called Depth Of Field, which is how much of the photo is in sharp focus.
ISO
Pronounced eye-so (you may have also heard eee-so or i-s-o), this controls how sensitive to light the camera’s sensor is. Low numbers mean it will be less sensitive and higher numbers mean it will be more sensitive.
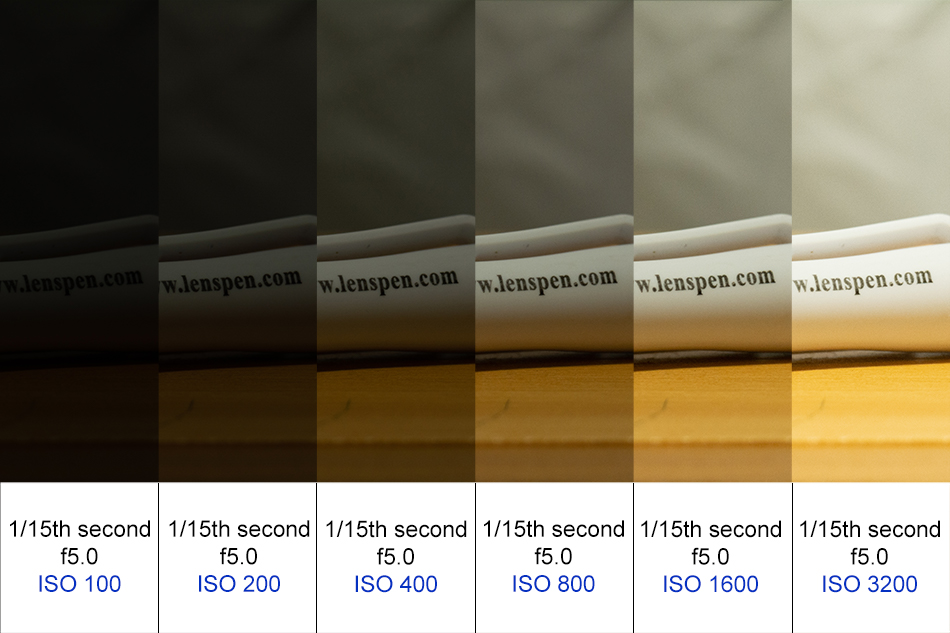
Higher ISO numbers can make your photos look “grainy.”
Digital noise is the name for this. The higher the ISO number, the more noise you will get.
Don’t be afraid to use a high ISO number though because there are photo editing programs that can remove the digital noise for you later.
Combining Shutter Speed, Aperture and ISO
One thing your compact camera does pretty well for you is exposing your image correctly. With your DSLR, you have control of this, and it’s the combination of shutter speed, aperture and ISO that help you to get it right.
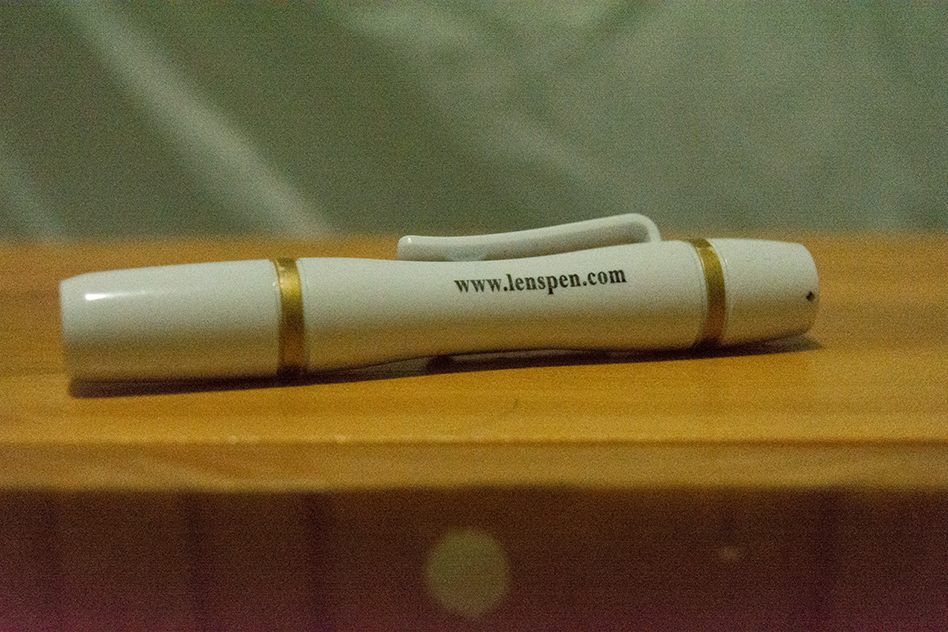
Below are some example images of different exposures taken with my Nikon D5200 DSLR.


Notice the parts of the over and under-exposed images above where there is no detail. Correctly exposed, the image on the right shows us all the details of the pan flute man.
In the next post of this series, I will explore the combination of Shutter Speed, Aperture, and ISO in more detail.
Please check back soon for more in the How To Use a DSLR Camera series. If you enjoyed this, please share it on social media with the buttons below.