
Are you struggling to get those beautiful, jaw-dropping landscape photos that you see online? Well, I am going to give you 5 landscape photography tips that will have you well-on-the-way to mounting a stunning landscape on your wall; a photo that will make you sit back and think “I took that?!”
Tip #1
Always Use a Tripod
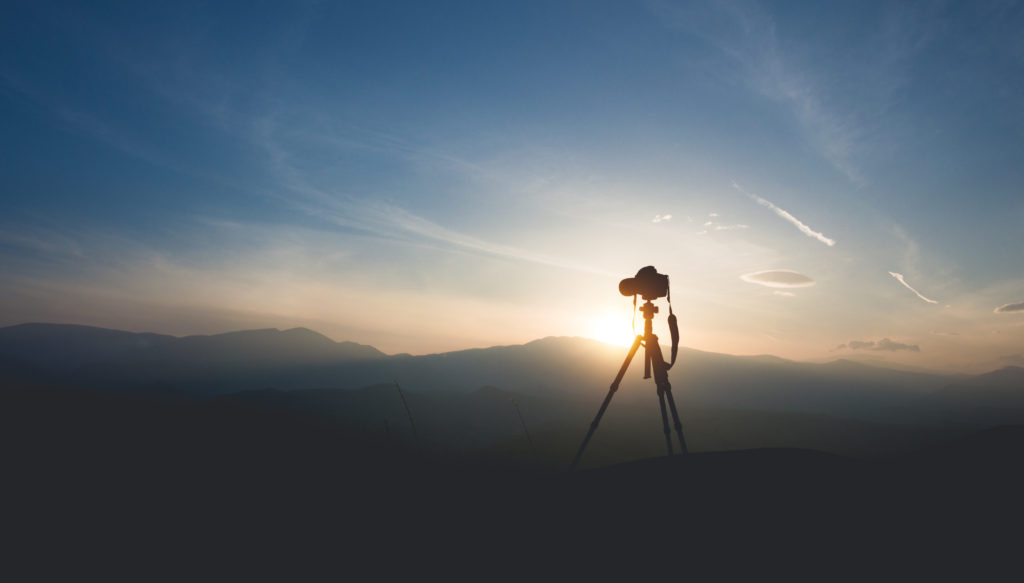

You need your camera steady-as-a-rock to take great landscape photos, so put it on a nice, sturdy tripod. If you don’t have a good solid tripod and you’re using a lighter one, such as a travel tripod, then weight it down with something.
In this image, I was using my Veo 204AB travel tripod. You can see I have put a little carabiner onto the tripod here and I’ve got my camera bag hanging underneath. This will steady it and pull it into the ground more so it wont move so much, even in a strong wind.
If you don’t have a tripod at all, use a fence post, a rock, the ground, anything you can find around you that will keep the camera steady. Watch my How To Hold A Camera Steady Without A Tripod YouTube video for more ideas.
Tip #2
Use A Remote Trigger or the Self-Timer On Your Camera

As with tip #1, this is to avoid camera shake. When you press the shutter button, you transfer some movement into the camera and lens. The best way to avoid this is to not touch the camera when releasing the shutter.
A remote trigger like the one on the right is great but it you don’t have one, simply set the timer on your camera and let it do the work.
Tip #3
Shoot RAW
I suggest shooting RAW when taking landscape photos. I don’t mean getting your gear off and shooting in the nude, as this may offend some people!
RAW is simply an uncompressed version of your photo where the camera captures all the detail in a scene.
If you are shooting jpegs, the camera is throwing out some information in your photo in order to compress the image to a smaller size. The information it tends to discard is in your shadows and highlights, so if you need to bring back that information later on, you will find that much harder to do with a jpeg than with a RAW file.
Tip #4
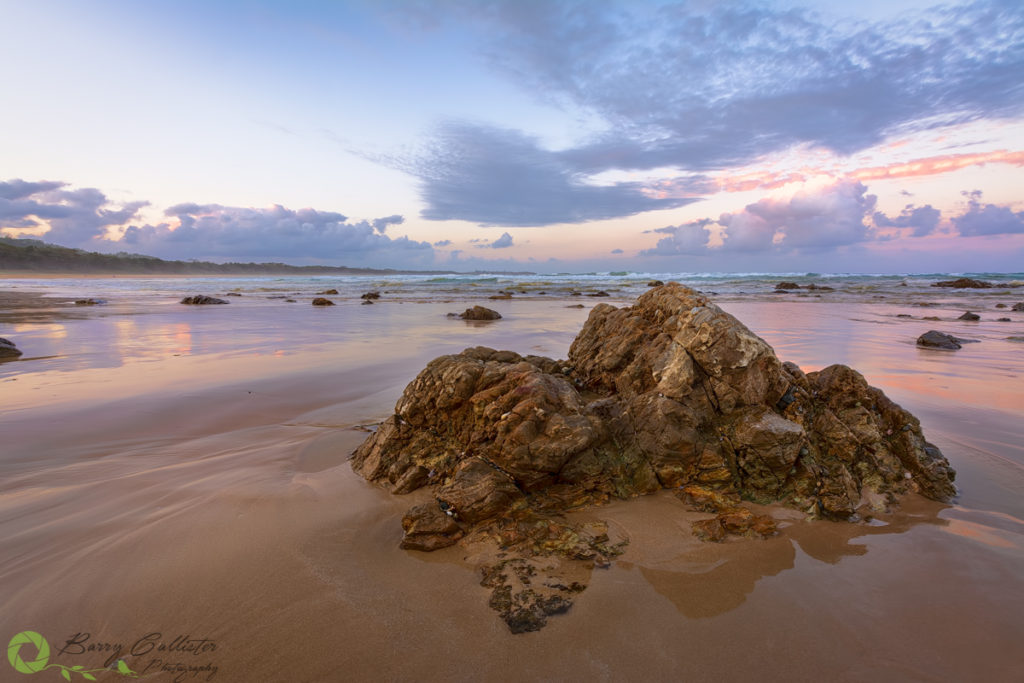
Put Something In The Foreground
When framing up your photo, try to get something interesting in the foreground to draw the eye of the viewer into the photo.
It might be a person, some rocks, a piece of driftwood, a flower, whatever you can see in front of you, try to place it in the frame in a way that draws your eye into the shot. This also helps give the illusion of depth and size to the photo.
In the photo below, having the rock in the foreground gives the image great depth and an almost 3D-like appearance. Without the rock, it would just be flat, wide sand and not very interesting.
Tip #5
Expose For The Highlights
If you are not going to take multiple exposures and blend them together in Photoshop later, expose for the highlights or brighter areas in the scene.
I find it easier to get detail back out of the shadows than from the highlights. If you try to make sure you get as close to an even exposure across your histogram, it will be easier to edit afterwards. If you can’t, then expose for the highlights.

And, if you’re shooting RAW like I said earlier – you will have much more control over those highlights and shadows.
Try These 5 Landscape Photography Tips Today
So, what are you waiting for? Get out there and take that great shot?!?
The 5 tips I mentioned above are just the tip of the iceberg but they are a great start. Look out for more blogs in this series coming soon. In the meantime, take a look at my Photography Tips For Beginners post for more photography tips.
If you enjoyed this post, please share it with others. The social media sharing buttons are just below this text. Thanks.